Replacing Tungsten Ionizing Wires
From time to time, the tungsten ionizing wires in the charging section of the electronic cell may break or become damaged. A broken or damaged wire generally causes a short to ground, which may or may not be accompanied by visible arcing or sparking. All parts of these broken or damaged wires should be removed from the unit immediately to prevent further shorting of the circuit. The unit will be able to operate on a temporary basis with one wire missing, but a new wire should be installed as soon as possible.
Some electronic air cleaners require the disassembly of the electronic cell in order to replace a broken or damaged ionizing wire. The procedure is as follows:
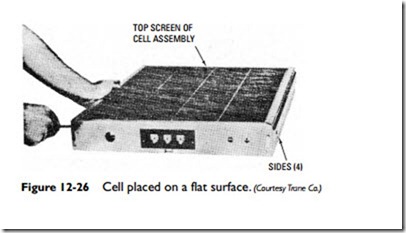
1. Place the cell on a flat surface and remove the screws from the terminal end of the cell (see Figure 12-26). Pull off the terminal end.
2. Remove the screws from the rear end and then pull off the end and the two sides.
3. Remove the top screen and carefully lift off the ionizer section.
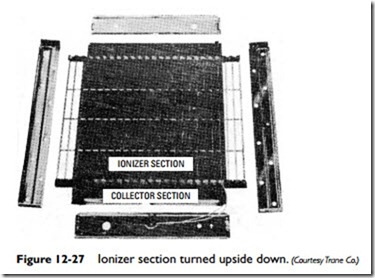
Turn the ionizer section upside down as shown in Figure 12-27.
4. Remove all parts of the broken or damaged wire.
5. Compress both tension members and string the new ionizing wire.
6. Slowly and carefully release the compression force first on one tension member and then on the other (sudden release may snap the wire).
7. Reassemble the cell.
The complete disassembly of the cell in order to replace an ionizing wire is not necessary on all electronic air cleaners. On the return grille electronic air cleaner, shown in Figure 12-15, the replacement wires are cut to length and installed as follows:
1. Remove all parts of the broken or damaged ionizing wire.
2. Hook one eyelet of the ionizing wire over the spring connec- tor at one end of the cell (see Figure 12-28).
3. Hold the opposite eyelet of the ionizing wire with needle-nose pliers and stretch the wire the length of the cell.
4. Depress the opposite spring connector and hook the eyelet over it.

